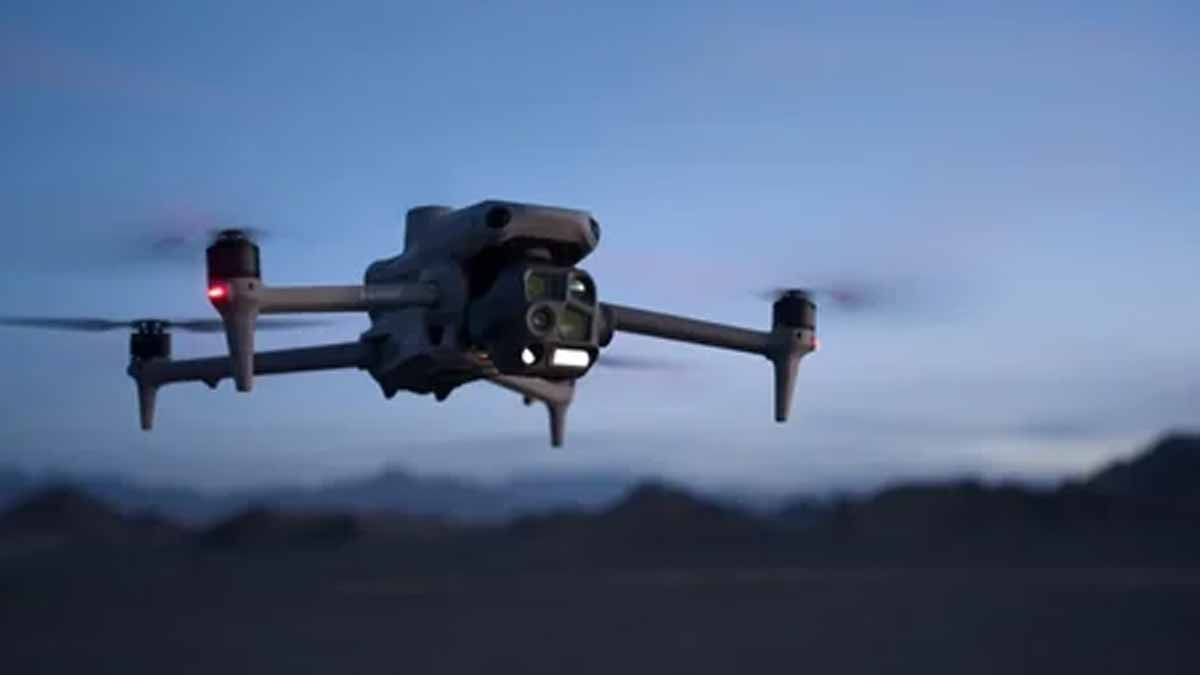
We’ve all been there. That perfect flight, the stunning aerial shot… followed by the unmistakable sound of a prop clipping a stray tree branch. Your heart sinks. But don’t worry, a broken propeller is a rite of passage for every drone pilot. Learning How To Replace Drone Propellers is one of the most fundamental and empowering skills you can master. It’s not just about fixing a problem; it’s about understanding your aircraft, ensuring safety, and getting back in the air with confidence. This guide will walk you through everything, from spotting damage to performing a flawless swap.\
Why Bother Replacing Your Props? More Than Just a Quick Fix
It might be tempting to fly with a slightly nicked propeller, but this is a major no-go. Your drone’s propellers are its wings, and even minuscule damage can have a massive impact on flight performance, safety, and the quality of your footage.
Think of it like driving a car with a wobbly, unbalanced tire. You might be able to move, but it’s going to be an unstable, inefficient, and dangerous ride. Damaged props create vibrations that can:
- Degrade Flight Stability: Your drone’s flight controller is constantly making micro-adjustments to stay level. Damaged props force it to work overtime, leading to shaky flight and sluggish responses.
- Ruin Your Video: Those tiny vibrations travel right through the drone’s frame to the gimbal and camera, resulting in that dreaded “jello” effect in your videos.
- Increase Motor Strain: Unbalanced propellers force the motors to work harder, which can lead to overheating and premature failure over time.
- Create a Safety Hazard: A compromised propeller is far more likely to fail mid-flight, which could lead to a crash, causing damage to your drone or, worse, property or people below.
Spotting a Damaged Propeller: A Quick Checklist
Before every flight, you should perform a quick pre-flight inspection. When it comes to your props, you’re looking for more than just a clean break. Get up close and check for these subtle signs of wear and tear:
- Nicks and Chips: The most obvious sign. Pay close attention to the leading and trailing edges of the blade.
- Stress Marks: Look for small, white-ish lines or creases in the plastic, especially near the hub where the prop attaches to the motor. These are signs of material fatigue.
- Bending or Warping: Lay the propeller on a flat surface. It should lie perfectly flat. Any bowing or twisting means it’s time for a replacement.
- Cracks: Even a hairline fracture can become a catastrophic failure under the stress of thousands of RPMs.
If you see any of these, don’t risk it. It’s time to make a change.
Gearing Up: What You’ll Need for the Job
The good news is that you don’t need a full mechanic’s workshop. Most drones are designed for easy field repairs. Here’s your basic toolkit:
- A New Set of Propellers: Always use props designed specifically for your drone model. It’s smart to have at least two full spare sets in your flight bag.
- A Propeller Removal Tool (if required): Some drones, especially older DJI models, require a special wrench to hold the motor while you unscrew the prop. Many newer models are quick-release and tool-free.
- A Soft, Clean Surface: A microfiber cloth or a drone landing pad works perfectly to prevent scratching your drone and losing small parts.
The Main Event: How to Replace Drone Propellers Step-by-Step
Alright, let’s get down to business. The process is straightforward, but the most critical part is paying attention to propeller orientation. Drones use two types of propellers: clockwise (CW) and counter-clockwise (CCW). Installing them in the wrong spot is the number one rookie mistake, and it will cause your drone to immediately flip over on takeoff.
- Power Down Everything: First and foremost, remove the battery from your drone. This is a non-negotiable safety step. You do not want the motors to accidentally spin up while your fingers are nearby.
- Identify the Propeller Type: Look closely at the propellers and the motors. They will have markings to indicate their rotation type.
- DJI Drones: Often use white or silver rings on the propellers and dots on the motors that need to be matched. The props without rings go on the motors without dots.
- Other Drones: May use an “A” and “B” system or arrows indicating the direction of rotation. The rule is simple: the markings on the propeller must match the markings on the motor arm.
- Remove the Old Propeller:
- For Quick-Release Props: Simply press down on the propeller hub, give it a slight twist in the direction indicated by the unlock symbol, and lift it off. It’s a push-and-twist motion, similar to a child-proof medicine bottle.
- For Screw-On Props: Gently grip the motor (use a tool if provided) to keep it from turning. Unscrew the propeller by turning it in the opposite direction of its normal rotation. So, for a clockwise (CW) prop, you’ll turn it counter-clockwise to loosen.
- Inspect the Motor: With the prop off, take a second to check the motor for any dirt, grass, or debris. Give it a quick wipe with a dry cloth.
- Install the New Propeller:
- Grab a new propeller, ensuring its marking (e.g., the white ring) matches the motor you are attaching it to.
- For Quick-Release Props: Place the new prop onto the motor, press down firmly, and twist it in the direction of the lock symbol until it clicks into place. Give it a gentle tug to ensure it’s secure.
- For Screw-On Props: Thread the new propeller on by hand, turning it in its direction of normal rotation. Tighten it until it is snug.
“A common mistake I see is over-tightening the propellers. You want them secure, not torqued down with excessive force. Overtightening can strip the threads or put stress on the plastic hub, creating a new failure point. Snug is the word to remember.” – Dr. Alistair Finch, Aerospace Engineer
- Repeat for Any Other Damaged Props: Follow the same process for any other props that need replacing, always double-checking that you’re matching the prop type to the motor.
- Final Check: Once you’re done, do one last visual sweep. Confirm that all props are correctly matched to their motors and are securely attached. A quick way to verify is to look at your drone from above. The propellers on diagonally opposite arms should match.
Common Mistakes to Avoid When Changing Propellers
Learning how to replace drone propellers correctly involves avoiding a few common pitfalls. Keep these in mind to ensure a smooth and safe process:
- Mixing Up CW and CCW Props: As mentioned, this is the biggest one. Your drone will not fly; it will flip. Always double-check your work.
- Using Damaged “Spare” Props: Don’t just throw used props into a bag. If you take a prop off because it has a tiny nick, throw it away. Don’t be tempted to use it later.
- Forgetting to Remove the Battery: This is a huge safety risk. Make it the first thing you do and the last thing you re-install.
- Using Third-Party Props Indiscriminately: While some aftermarket props are excellent, cheap, unverified ones can be poorly balanced and inefficient. Stick to props from the drone manufacturer or highly reputable third-party brands like Master Airscrew.
Should I Upgrade My Drone Propellers?
Once you’re comfortable with the replacement process, you might wonder about upgrades. Is it worth it? It depends on your goals.
| Feature | Stock Propellers | Upgrade Propellers (e.g., Low-Noise/Carbon Fiber) |
|---|---|---|
| Noise | Standard | Often significantly quieter, less intrusive. |
| Efficiency | Good | Can provide slightly longer flight times (1-2 minutes). |
| Durability | Generally good plastic | Carbon fiber is more rigid but can shatter on impact. |
| Cost | Included / Inexpensive | More expensive than stock replacements. |
Upgrading can be a great choice for pilots who want to fly more discreetly or eke out every last second of flight time. For most everyday pilots, however, high-quality stock propellers are more than sufficient.
Frequently Asked Questions (FAQ)
Q: How often should I replace my drone propellers?
A: You should replace them immediately if you see any signs of damage, such as nicks, cracks, or warping. Even if they look fine, it’s good practice to replace them after about 200-300 flight hours as the material can weaken over time.
Q: Can I use propellers from a different drone model?
A: No, you should never do this. Propellers are specifically designed for the weight, motor power, and aerodynamics of a particular drone. Using the wrong props will lead to poor performance and potential failure.
Q: What is the difference between clockwise (CW) and counter-clockwise (CCW) propellers?
A: They are mirror images of each other. The pitch or angle of the blades is reversed. This design allows two motors to spin clockwise and two to spin counter-clockwise, which cancels out motor torque and keeps the drone stable and level.
Q: What happens if I install the propellers in the wrong place?
A: If you mix up the CW and CCW propellers, the drone will generate lift in the wrong direction on those motors when you try to take off. This will cause it to immediately and violently flip over on the ground.
Q: Are carbon fiber propellers better than plastic ones?
A: They have pros and cons. Carbon fiber props are more rigid, which can provide a slightly more responsive feel. However, they are more brittle and tend to shatter on impact, whereas plastic props might just bend or nick. They are also more expensive.
Get Back to Flying
Mastering how to replace drone propellers transforms a flight-ending incident into a minor, five-minute pit stop. It’s a skill that builds confidence and deepens your connection with your machine. By performing regular checks and knowing how to do a quick, correct swap, you ensure that every launch is safe, every flight is stable, and every video is smooth. Now, grab your spares, get fixing, and get back in the air.