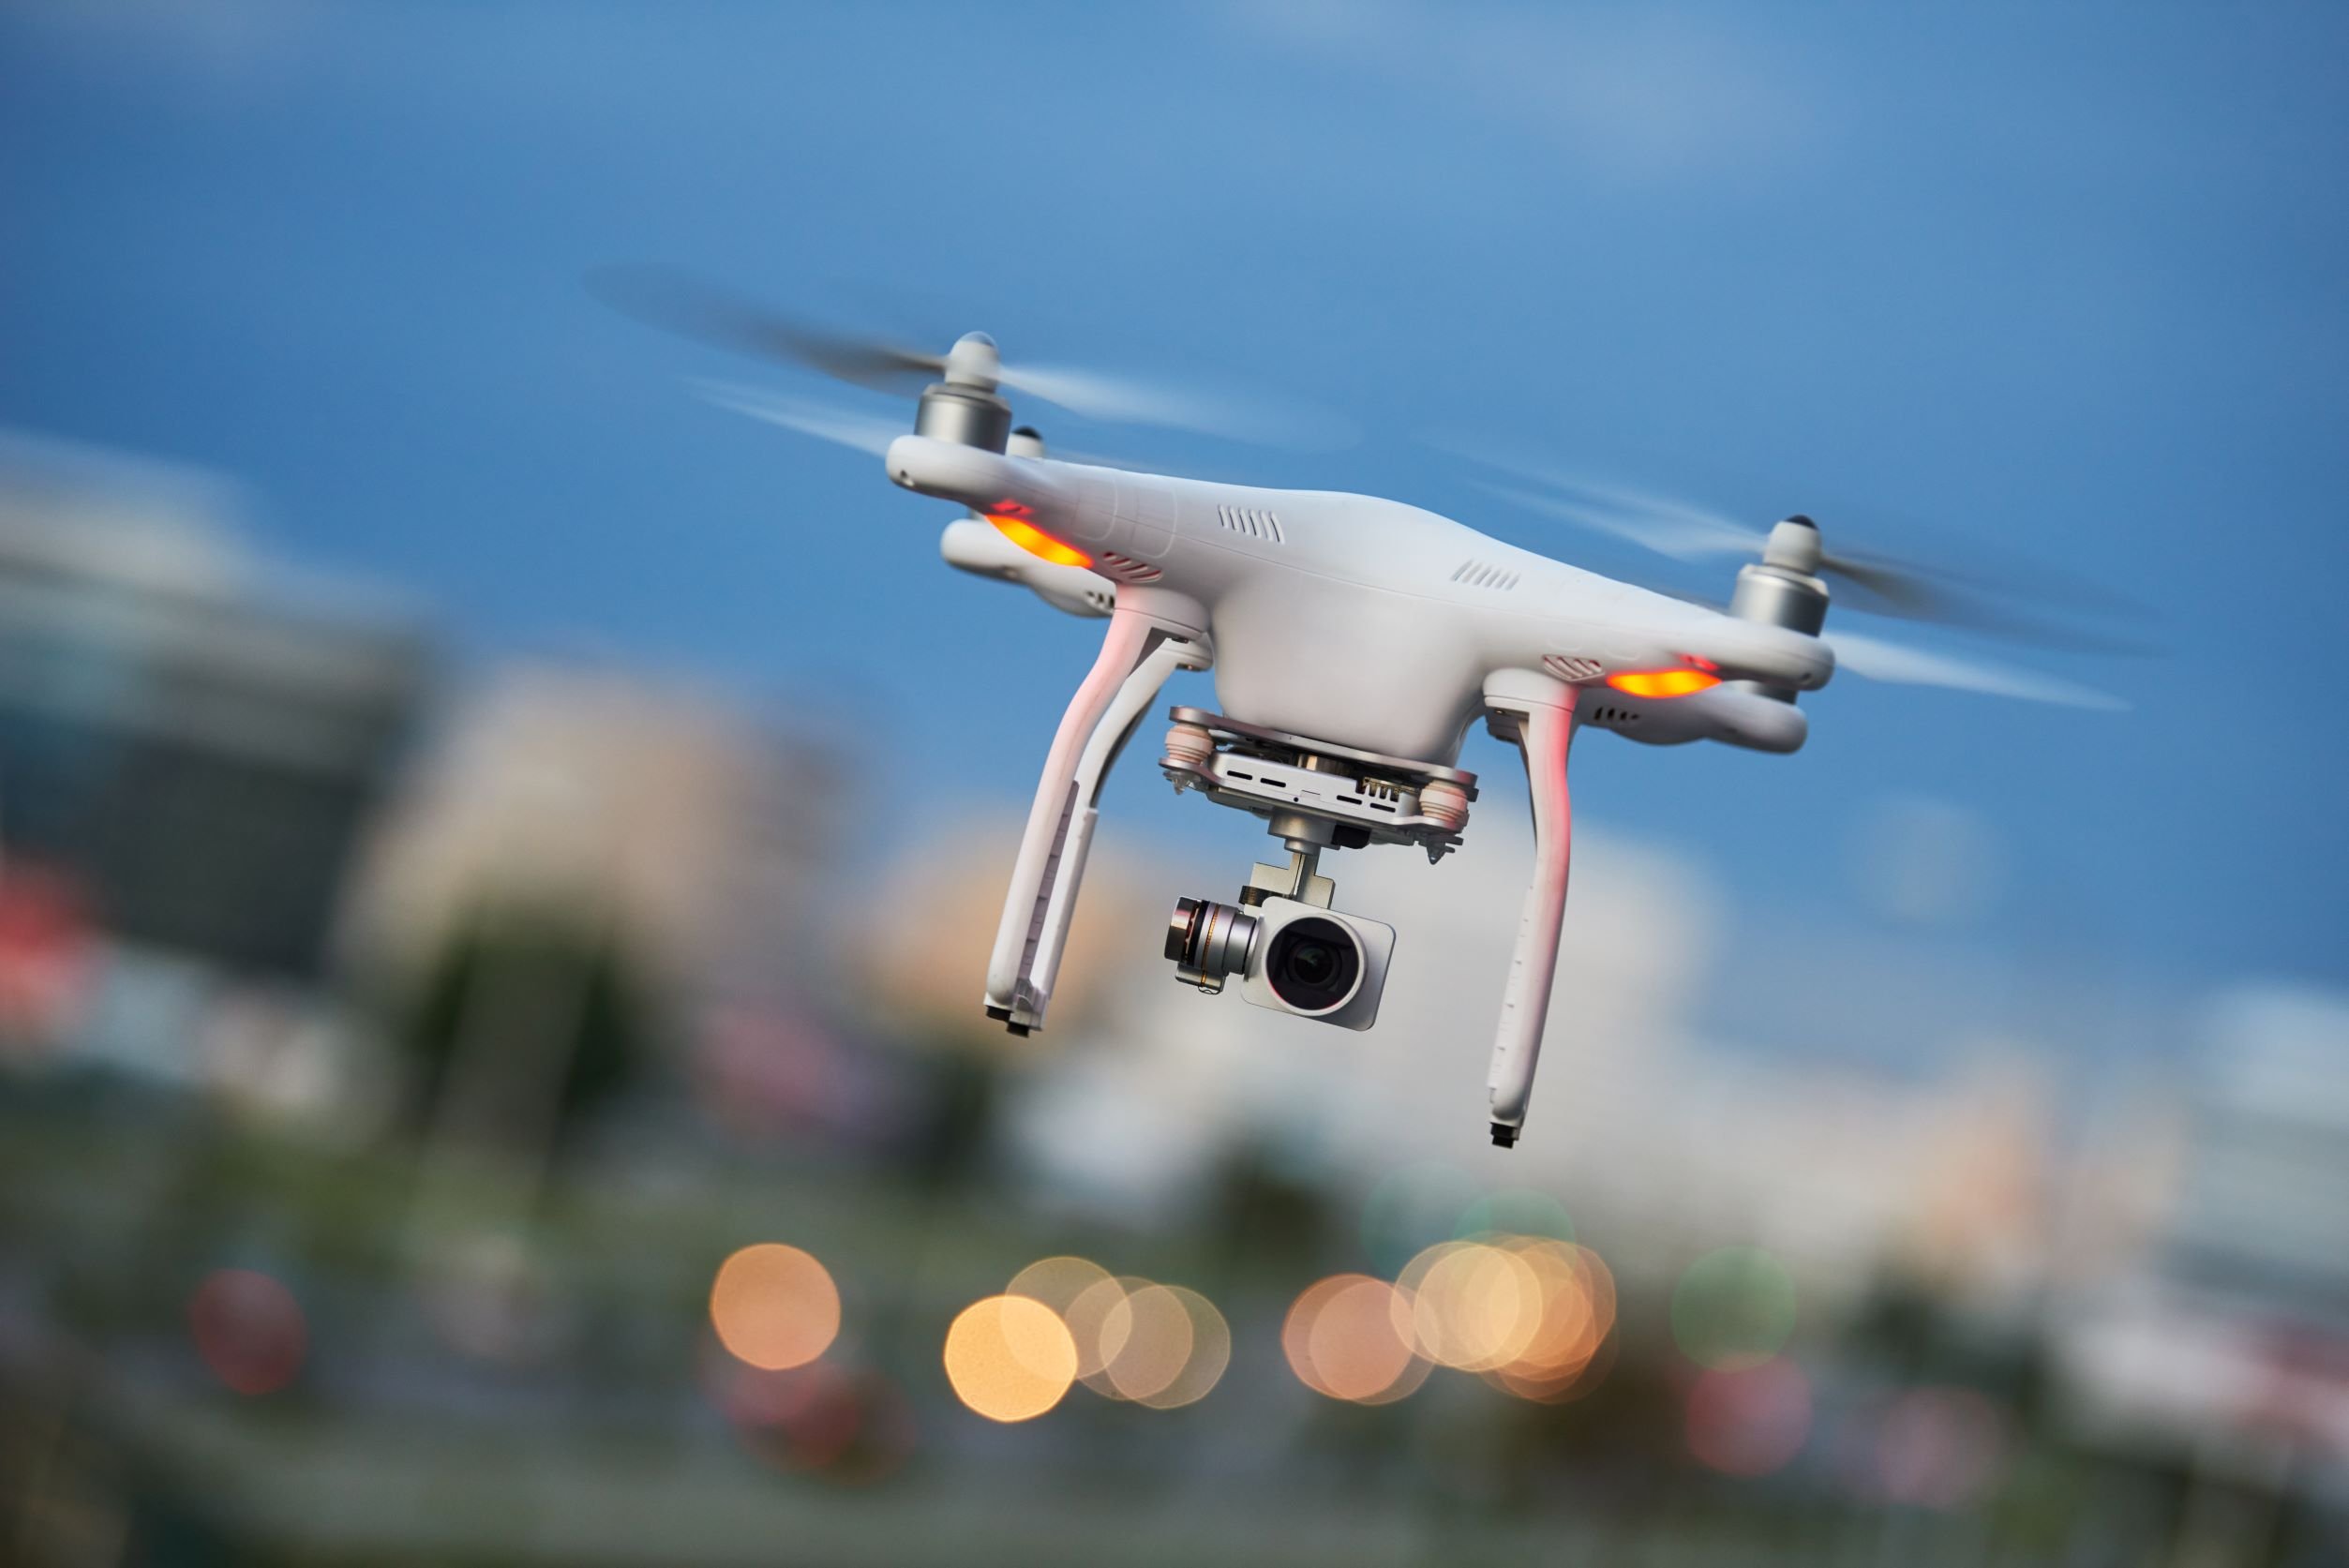
Ever launched your drone into a perfect golden-hour sky, captured what you thought was a masterpiece, only to get home and find a blurry, dark, or washed-out image on your screen? Trust me, we’ve all been there. Nailing the Best Camera Settings For Drone Photography can feel like trying to solve a Rubik’s Cube while blindfolded, but it’s the single most important skill that separates amateur snapshots from professional, jaw-dropping aerial art. Forget “Auto” mode; today, we’re taking the controls back.
This isn’t just another technical manual. Think of this as a conversation, a flight plan to help you unlock your drone camera’s true potential. We’ll break down the “exposure triangle,” demystify confusing terms, and give you the exact settings you need to capture stunning photos in any condition. Ready to elevate your photography game? Let’s take flight.
Before You Tweak: Pre-Flight Setup for Success
Before we even touch the main settings, getting a few fundamentals right on the ground will save you a world of headaches in post-production. It’s like a pilot’s pre-flight check, but for your camera.
RAW vs. JPEG: The Only Choice for Serious Photographers
What’s the difference between RAW and JPEG? Think of it like cooking. A JPEG is a pre-made, microwaveable meal. It’s quick, easy, and looks decent straight out of the box. A RAW file, on the other hand, is a collection of fresh, uncooked ingredients. It requires some work in the “kitchen” (your editing software), but the final result is infinitely more delicious and tailored to your exact taste.
- JPEG: The camera processes the image for you, applying sharpness, color, and compression. This saves space, but you lose a massive amount of data, making editing difficult.
- RAW: This format captures all the unprocessed data from the camera’s sensor. It gives you maximum flexibility to adjust exposure, colors, and details later without losing quality.
The verdict? Always shoot in RAW. The larger file sizes are a small price to pay for complete creative control. You can always export a JPEG later.
Learn to Love Your Histogram
That little graph on your screen? That’s the histogram, and it’s your best friend for judging exposure. Don’t rely on how the image looks on your small screen, especially in bright sunlight. The histogram gives you the unbiased, technical truth about the light in your shot.
A well-exposed histogram generally looks like a mountain in the middle, without major peaks slammed against the far left (underexposed “shadow clipping”) or far right (overexposed “highlight clipping”). Once highlights are clipped, that data is gone forever, resulting in pure white blotches in your image.
Mastering the Exposure Triangle: The Core Camera Settings
Alright, let’s get to the main event. ISO, Aperture, and Shutter Speed are the “big three” that work together to control the exposure of your image. Understanding how they interact is the key to unlocking manual mode and, consequently, the best camera settings for drone photography.
ISO: Your Sensor’s Sensitivity to Light
What is ISO? In simple terms, ISO is the digital equivalent of film speed. It brightens your image without changing shutter speed or aperture. However, there’s no free lunch. Increasing the ISO introduces digital “noise” or grain, which can make your photos look gritty and reduce detail.
- Rule of Thumb: Always keep your ISO as low as possible. For most drones, like the popular DJI series, this means sticking to ISO 100.
- When to Raise It: Only increase your ISO as a last resort in low-light situations when you can’t get a proper exposure by adjusting the aperture or shutter speed.
As aerial photographer Maya Chen puts it, “Think of ISO 100 as your clean, quiet baseline. Every click upwards is like turning up the static on a radio—you might hear the station better, but you also get all that unwanted noise.”
Aperture: Controlling Light and Depth of Field
Aperture refers to the opening in your lens that lets light in, measured in f-stops (e.g., f/2.8, f/8). A lower f-stop number means a wider opening, letting in more light. A higher f-stop means a smaller opening, letting in less light.
With drones, we’re usually so far from our subjects that achieving a blurry background (shallow depth of field) isn’t the goal. Instead, we want everything to be tack-sharp from front to back.
- Sweet Spot: Most drone lenses are sharpest between f/4 and f/5.6. This range provides excellent clarity across the entire frame without introducing diffraction (a slight softening of the image that occurs at very small apertures like f/11).
- Fixed Aperture Drones: Many popular drones, like the DJI Mini series, have a fixed aperture (e.g., f/1.7 or f/2.8). If this is you, don’t worry! You’ll simply rely more heavily on your ISO, shutter speed, and ND filters for your drone to control exposure.
Shutter Speed: Freezing Motion or Creating Art
Shutter speed determines how long your camera’s sensor is exposed to light, measured in fractions of a second (e.g., 1/50s, 1/1000s). It has two major creative impacts:
- Motion Blur: A slow shutter speed (like 1/30s) will blur moving objects, creating a sense of motion. This is great for smoothing out water or capturing light trails from cars.
- Freezing Action: A fast shutter speed (like 1/1000s) will freeze motion, capturing crisp, clear details. This is essential for preventing blur caused by the drone’s movement.
- General Rule for Sharp Photos: To avoid motion blur from the drone itself, a good starting point is a shutter speed of at least 1/250s or faster. On windy days, you might need to push it to 1/500s or more.
Pre-Photography Flight Checklist
Before you even think about hitting the record button, run through this quick mental checklist.
- [ ] Shoot in RAW: Double-check your settings.
- [ ] ISO at 100: Set it and forget it (mostly).
- [ ] Set White Balance Manually: Don’t use Auto WB. Set it to Sunny, Cloudy, or use a custom Kelvin value.
- [ ] Check Your Histogram: Make sure you aren’t clipping highlights or shadows.
- [ ] Grid Lines On: Turn on the rule-of-thirds grid overlay to help with composition.
- [ ] Format SD Card: Start every flight with a clean card to prevent errors.
What Are the Best Settings for Different Scenarios?
Knowing the theory is one thing, but applying it in the field is another. Here are some cheat sheets for common situations to find the best camera settings for drone photography.
| Scenario | ISO | Aperture | Shutter Speed | Notes & Tips |
|---|---|---|---|---|
| Bright, Sunny Day | 100 | f/4 – f/5.6 | 1/250s – 1/1000s | Use an ND or CPL filter to manage the intense light and avoid having to use an excessively high shutter speed. |
| Golden/Blue Hour | 100 | f/2.8 – f/4 | 1/50s – 1/200s | The light changes fast! Keep an eye on your histogram and adjust the shutter speed as the sun sets or rises. |
| Overcast/Cloudy Day | 100 | f/4 | 1/100s – 1/250s | The clouds act as a giant softbox, creating even, soft light. This is great for top-down shots and real estate. |
| Capturing Motion (Water) | 100 | f/5.6 or higher | 1s – 2s | Requires an ND filter (ND64 or ND1000) and a very calm day. The drone must be perfectly still to avoid blur. |
| Night/City Lights | 100-400 | Widest (f/2.8) | 2s – 8s | This is an advanced technique. Use long exposure mode if available and ensure the drone is completely stationary. |
Beyond the Basics: Pro Tips to Elevate Your Shots
Once you’ve mastered the exposure triangle, a few more tricks can take your images from good to great.
Use Bracketing (AEB) for High-Contrast Scenes
Ever tried to photograph a beautiful sunset where the sky is bright but the landscape is dark? This is where Auto Exposure Bracketing (AEB) is a lifesaver. Your drone will automatically take 3 or 5 photos at different exposures (one normal, one darker, one brighter). You can later merge these in software like Adobe Lightroom to create a single High Dynamic Range (HDR) image where both the highlights and shadows are perfectly exposed.
White Balance: Getting Your Colors Just Right
Leaving White Balance on “Auto” can lead to inconsistent colors between shots. For more professional results, set it manually based on the conditions.
- Sunny: ~5500K
- Cloudy: ~6500K
- Golden Hour: ~3500-4500K
Setting a manual Kelvin (K) value gives you the most precise control.
Frequently Asked Questions (FAQ)
1. What is the single best setting for drone photography?
There is no single “best” setting, as it always depends on the lighting conditions. However, the best practice is to set your ISO to 100, shoot in RAW, and then adjust your aperture and shutter speed to achieve a correct exposure using your histogram.
2. Should I use manual or auto mode for my drone camera?
For the highest quality and most creative control, you should always aim to shoot in Manual (or “Pro”) mode. Auto mode is convenient, but it makes decisions for you that might not align with your artistic vision, often resulting in motion blur or incorrect exposure.
3. Why are my drone photos blurry?
Blurry photos are usually caused by a shutter speed that is too slow to freeze the motion of the drone. As a general rule, try to keep your shutter speed above 1/250s, especially if it’s windy. Low light is the biggest enemy of sharpness.
4. Do I really need ND filters for drone photography?
While not strictly necessary for photography (they are more crucial for video), ND filters are incredibly helpful. They act like sunglasses for your lens, allowing you to use slower shutter speeds in bright daylight for creative motion blur effects without overexposing the image.
5. How do I get sharp focus in my drone photos?
Most drones have autofocus. To ensure sharp focus, simply tap on the area of the screen you want to be the sharpest. For landscapes, tapping on a subject one-third of the way into the frame (the hyperfocal distance) often yields the best results for overall sharpness.
Your Journey to Aerial Artistry Starts Now
Stepping away from Auto mode can feel daunting, but it’s the most crucial flight you’ll ever take as an aerial photographer. It’s about taking command of your craft, understanding the language of light, and transforming a technical process into an artistic one.
Don’t be afraid to experiment. Go out and practice. See how changing the shutter speed affects the look of a waterfall or how adjusting your aperture changes sharpness. By mastering the best camera settings for drone photography, you’re not just operating a flying camera; you’re painting with light from a vantage point that was once reserved for the birds. Now, go create something amazing.